
By Tim Cowden
Last time, as you recall, the tubes were being prepped and important
aesthetic decisions were presented. (Read Part 1 here.)
I went to a big box store to "scope" out the
color selection. What I found was sticker shock. It shouldn't have been a
surprise, with the price of everything going up. The price of spray paint had
nearly doubled. This sent me back to the paint cupboard for another look.
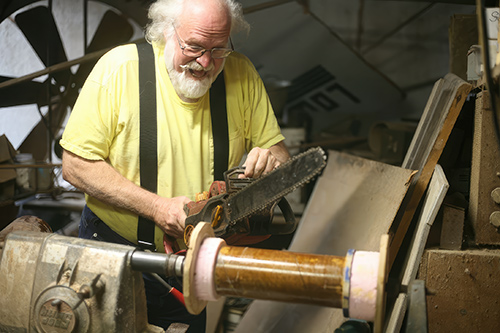
I found a nearly full can of yellow spray paint and some flat black paint for the inside of the tubes. I used the yellow paint on the smaller of the two tubes. Improper surface preparation led to orange peal paint texture and poor coverage. I should have primed the tube first. After this, the insides of the tubes were painted flat black. I've seen several clever mechanisms for handling spray cans inside tubes, but it isn't difficult to spray straight into the end, if you rotate the tubes and swap ends as you go. Hold the tube up to the sky to look inside to check coverage.
I've decided to postpone painting the big tube until final assembly. (I found cheaper spray paint). The next step is a trial assembly to check the focus range, to make sure there is enough back focus for photography and enough range for my eyepieces. I used paint tape to secure the lens holder to the tube. Putting the tube on the Alt-Az mount for my other refractor, I aimed at a distant red light atop an antenna tower, I tried to focus on the light. Cranked all the way in, it wasn't focused. I removed the adapter and stuck the eyepiece in as far as I could. The image began to approach focus. My tube is too long.
An examination of the lens cell showed it to be several inches longer than I assumed. The tube length is adjustable to a certain extent with the tube rings sliding in and out, but I like the current proportions. While the tubes are still easy to disassemble, the length is changeable. A quick spin on the lathe with hacksaw in hand and the main tube is shorter by four inches. The raw edge is coated with wood glue to reinforce the cardboard. Reattaching the objective and going back to the test stand shows the distant tower to be in focus.
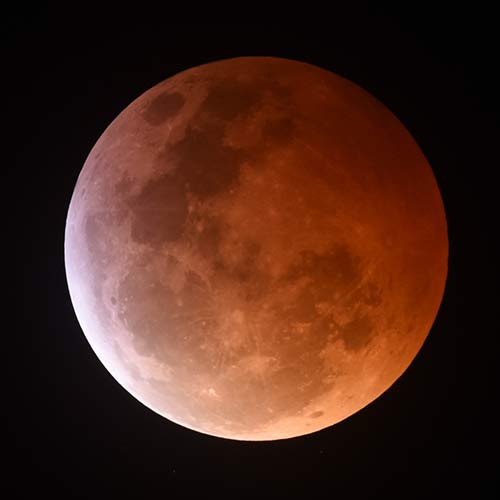
That evening, the scope experiences first astronomical light, with a nice view of the Moon. The tube is still too long, with not enough back focus for a right angle adapter in the optical train. Still, the moons of Jupiter were sharp points and the cloud bands were visible. Progress. There are still baffles to install and collimation of the optical assembly to do, as well as mounting and cosmetic touches to consider.
The next step is the fastening of the objective lens to the tube. I want to be able to remove the lens holder so I want to avoid permanently fastening it to the tube. I planned to glue a flange to the lens holder to fasten to the tube with screws.
I shilly-shallied with several ideas for attaching the objective lens holder to the OTA assembly. They didn't work. In the end I just drilled holes through the end of the tube into the flange of the lens holder. Tapping the holes allowed bolts to secure the lens. I re-enforced the end of the tube with fiberglass and epoxy to keep the bolts from tearing out the bolt holes.
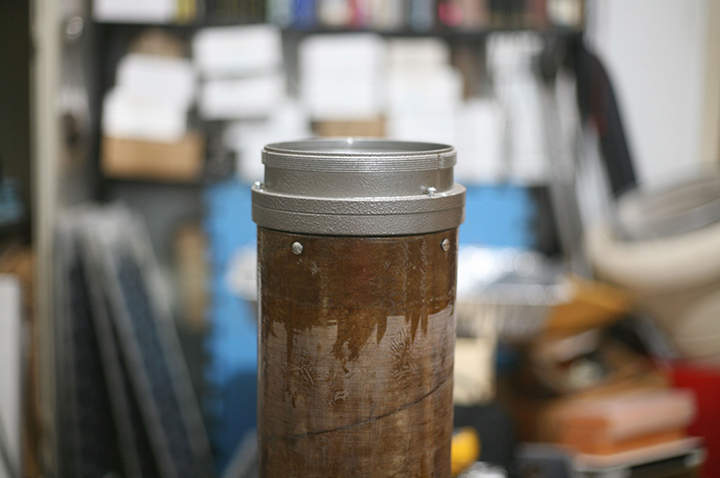
Objective lens attached to tube
I next made the rings to be inserted into the tube as baffles. The baffles keep stray light from lowering contrast and causing internal reflections in the eyepiece. The baffles are made from pizza box cardboard and foam rings that are a press fit inside the tube. The first one had a center hole 3.75 inches, the second baffle has a hole 2.75 inches in diameter. The cardboard is glued to the foam and the baffles are painted flat black. Push them down the tube to the right spot and its done. A little glue can't hurt after the baffles line up.
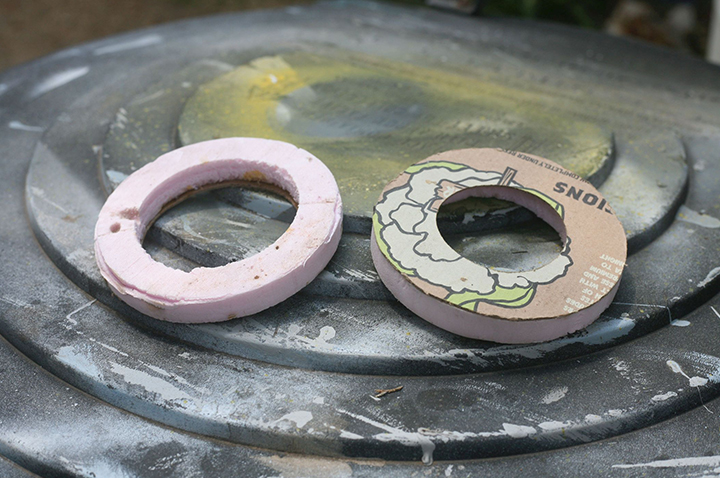
Baffles
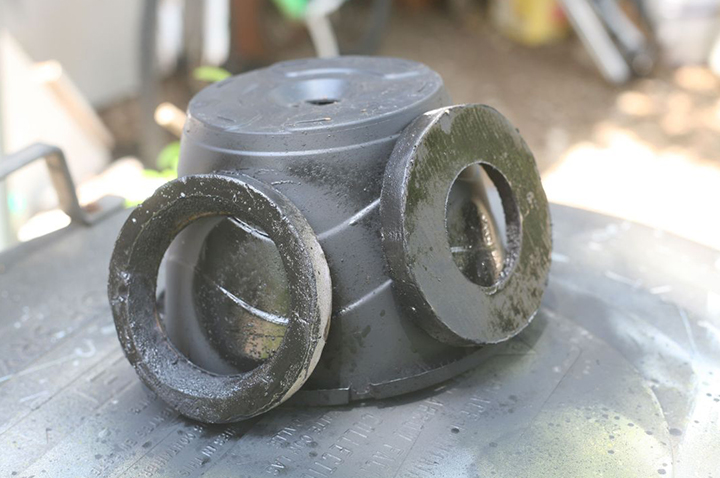
Painted baffles
Baffles in place
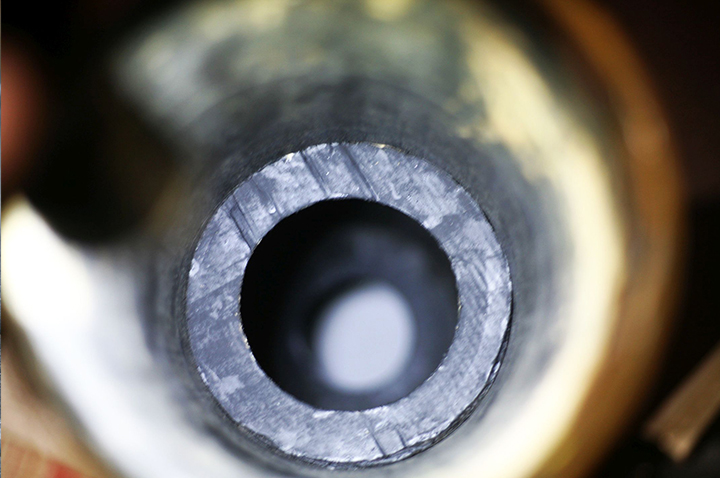
Collimation consists of aligning the focuser so that it is coaxial with the optical tube. A laser collimator makes this easy. The laser is inserted into the focuser and the spot should be at the center of the objective lens. If not, then shim the focuser and adjust the retaining screws until the red dot is centered. This involves a fair amount of fussy adjustment. I found a large saw horse (on the side of the road, of course) that combined with some improvised sand bags (old socks filled with sandy dirt) that made the process easier.
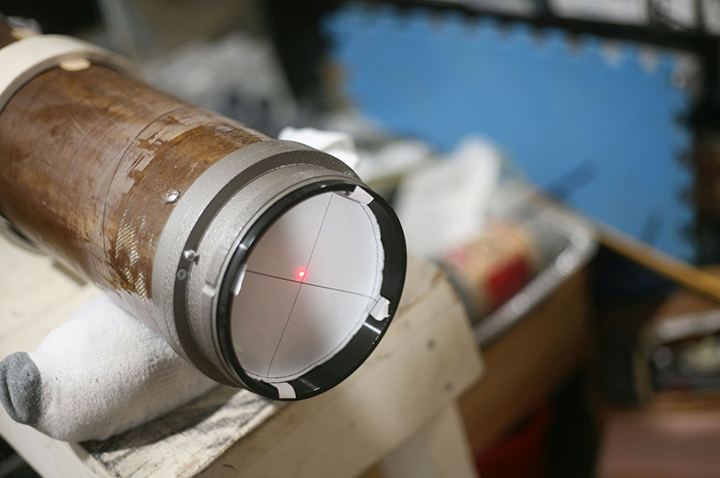
Collimating the lens
The scope is held in within rings cut from PVC pipe and attached to a length of wood cut to match the dovetail on a gifted alt/az mount and tripod. (Thanks, Mark) The wood was in my scrap pile, but I was surprised to find a note on the wood saying it was a hundred year old piece of teak from an Indonesian rain forest. In retrospect, an aluminum dovetail bolted to the optical tube would probably be a better solution.
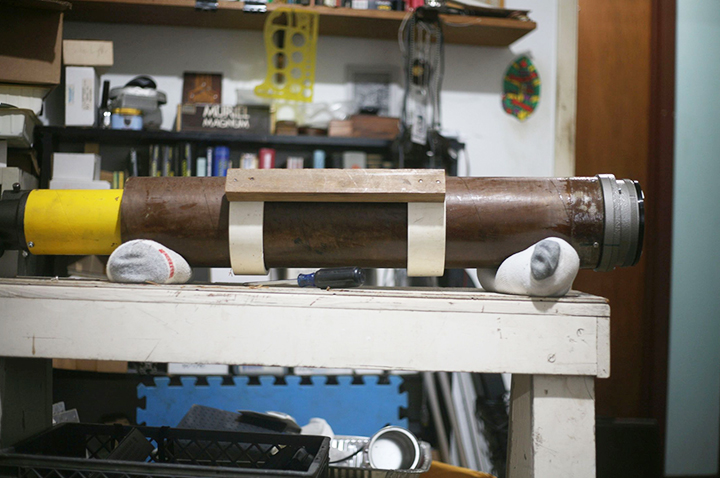
Optical bench
Testing stand
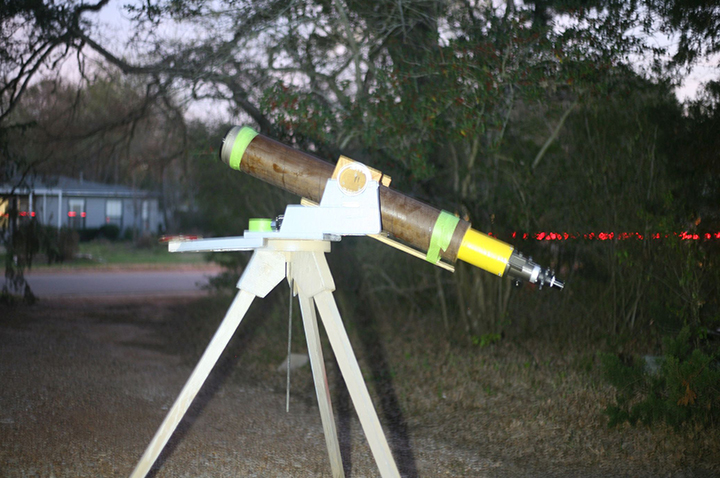
The rest is cosmetic detail. A wooden cone for the end of the tube, a bright yellow paint job, and a large tin can for the light shade make the telescope resemble a standard #2 pencil. I used pink "Hello Kitty" duct tape on the end of the shade to resemble a pencil eraser. Eventually, my wife will paint the No.2 in black on the outside of the telescope. (Thanks, Cathy)
The scope was first used for outreach at the Ringer Library on International Observe the Moon Night. The clouds showed up to greet the new scope. Not the best conditions for commissioning the scope, but I expect that it will see more action soon.
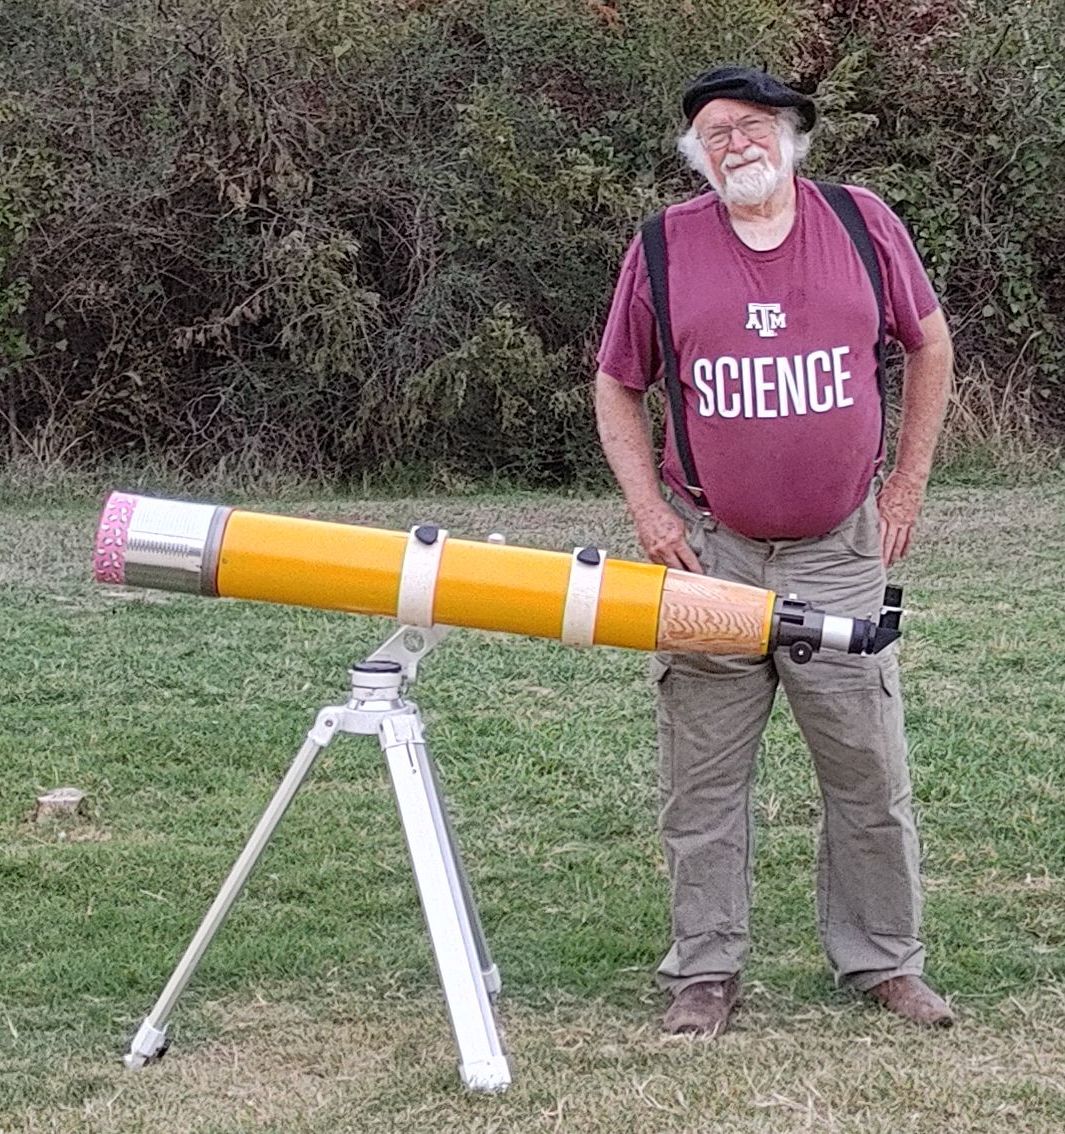
Tim Cowden's telescope makes its public debut.
About the Author:
Tim Cowden works for Texas A&M University as part of the operations staff of The Cyclotron Institute. He makes telescopes in his spare time from material he has accumulated over the years. Tim is a former president of the Brazos Valley Astronomy Club.
Fall 2023 Newsletter

CONTACT EMAIL:
contact@brazosvalleyastronomyclub.org
Coordinator - Randy Light, M.D.
PROGRAM REQUEST EMAIL:
outreach@brazosvalleyastronomyclub.org
Coordinator - Tom Campbell
GOOGLE DISCUSSION GROUP:
https://groups.google.com
Coordinator - Randy Light, M.D.
WEBSITE AND NEWSLETTER EMAIL:
webmaster@brazosvalleyastronomyclub.org
Coordinator - Ginger Wentrcek
Follow Us on Facebook
Member: Astronomical League
Member: Night Sky Network
BVAC Website:
https://brazosvalleyastronomyclub.org
© Brazos Valley Astronomy Club
The Brazos Valley Astronomy Club is a non-profit group
located in Bryan-College Station, Texas.
Our goal is to promote astronomy and related science
as a hobby for people of all ages.