
By Tim Cowden
This is a project I started several years ago, before Covid. I had, over the years, collected telescope parts and assorted junk from swap meets at the Texas Star Party. I had a collection of different sizes of cardboard tubes as well. This all reached critical mass and I decided to build a small telescope. I had a tripod with an alt-az mount that was just right, a 5 inch F10 lens assembly and a focuser for a refractor.
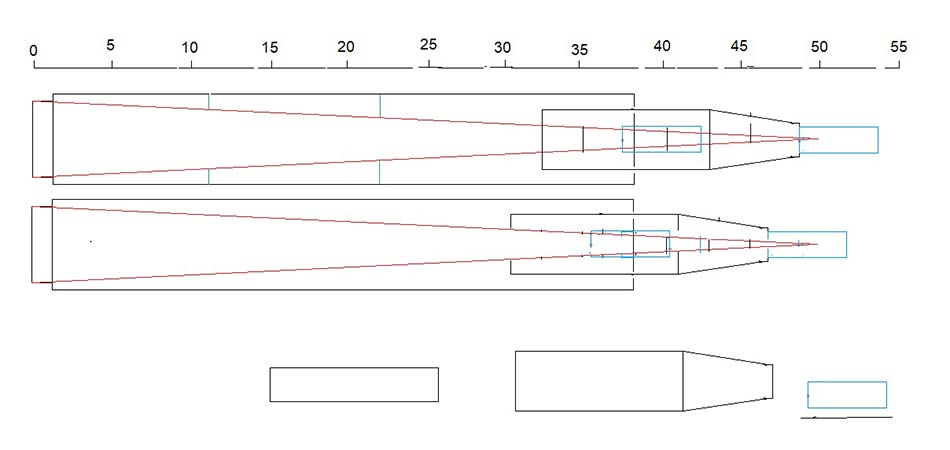
Making a schematic drawing for the 5 inch F10 telescope is the first step in the building process.
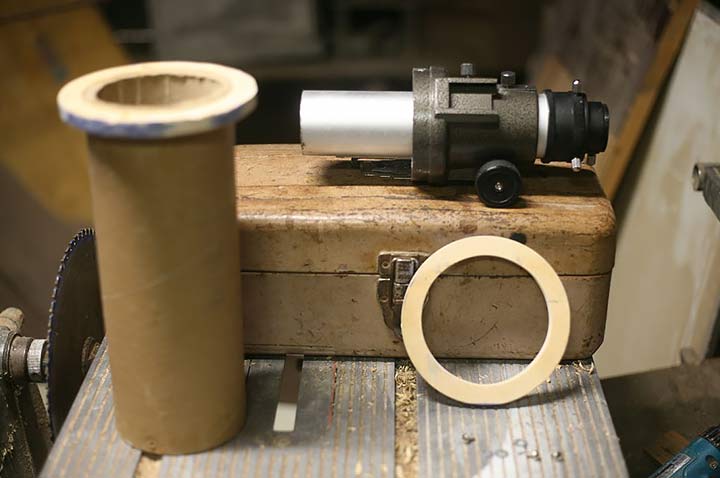
I started out going through the cardboard tubing, looking for close fits for the lens and focuser. This took a while, while I kept an eye out for the right size tube in the trash. I eventually horse traded a tube my wife had for one of similar size.
With two different size tubes, I had to build an adapter to join the two together. Two plywood rings sized to fit the inner diameter of the larger tube and the outer diameter of the smaller tube gave me a nice sliding fit.
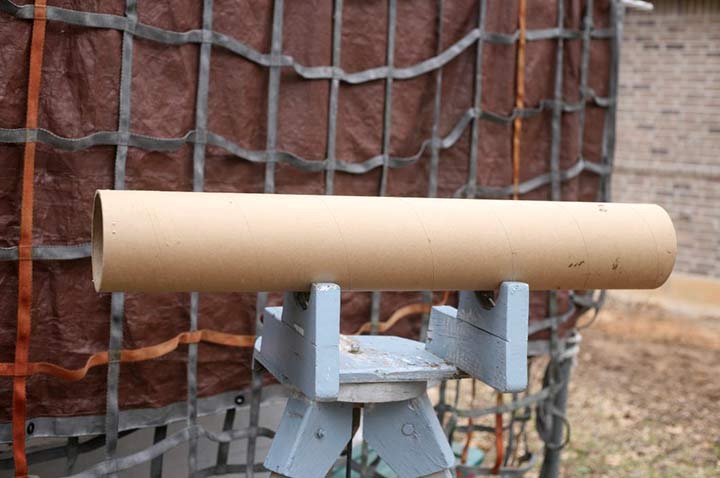
The perfect tube has been located.

Work begins to prepare two rings made of plywood.
The focuser was a little large for the smaller tube but close enough that cutting and peeling the layers of paper of the tube made a snug fit.
The cardboard was strengthened by applying wood glue to the remaining layers. Holes were drilled for the mounting screws.
I was wrestling with the lens mounting when tragedy struck. The lens
A big chip was knocked off the front lens. Optically, this wasn't much, a piece of black tape over the chip would have been fine, but it was so disheartening that I set the project aside. For years. Well, time has healed many wounds and I have too much junk, so it was use it or toss it time.
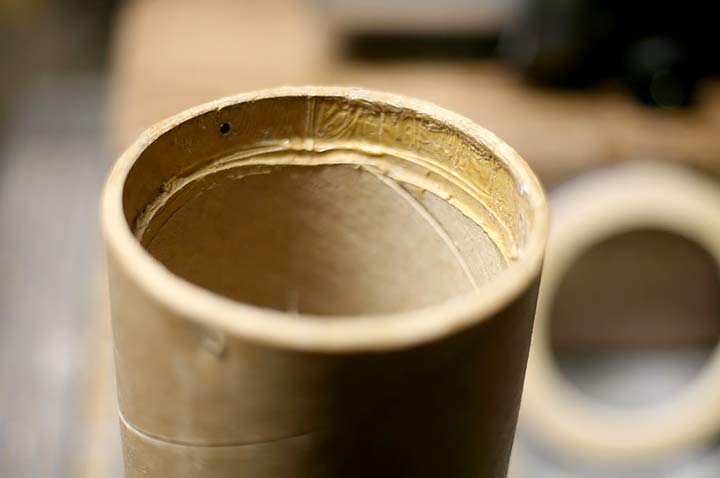
The perfect solution for a snug fit - peel back the papers on the inside of the tube.
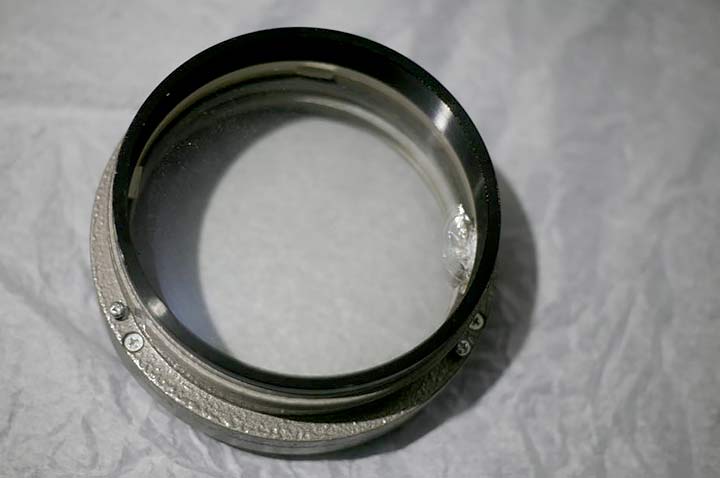
The chip on one side of the lens can be seen on the front lens within the lens mount.
The first task was to coat the cardboard tubes to strengthen and waterproof them. I used some boat building epoxy I had, but any waterproofing varnish or polyurethane would do, at a small sacrifice in strength. The waterproofing is to keep the tube from sagging. I mounted the large tube on a wood lathe and painted the exterior with epoxy.
I had visions of spinning the tube on the lathe to spread the coating evenly, but drips flew off, making a mess. After the epoxy cured, I spun the tube on the lathe to sand the drips off and gave the tube a nice smooth surface. I did the same with the smaller tube and glued on one of the plywood rings.
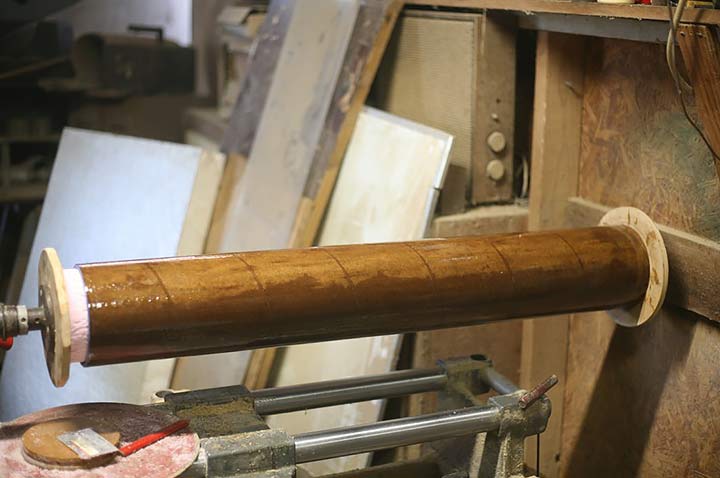
The large tube is mounted on the lathe. size.
The surfaces are nice and smooth after the lathe work.
Since I knew the diameter of the lens and the focal length, I could draw a two dimensional plan of the scope and figure the light cone and the best places to put the internal baffles. Scaling on the diagram showed that a baffle at 11 inches from the objective with an inner diameter of 3 ½ inches, and another at 22 inches with an inner diameter of 2 ½ inches would do nicely. The inner end of the focusing tube would provide the third baffle.
Before the baffles could be installed, the inside of the tubes needed to be painted flat black. There was no harm in painting the outside of the tubes as well. This leads up to the hardest construction decision facing the telescope builder. What color do I paint it?
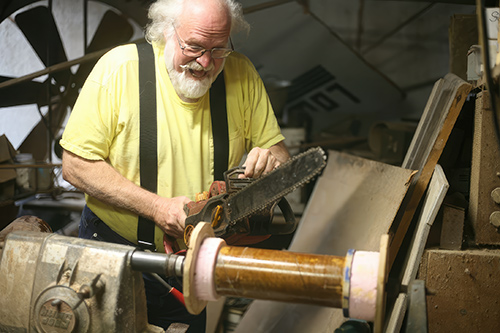
About the Author:
Tim Cowden works for Texas A&M University as part of the operations staff of The Cyclotron Institute. He makes telescopes in his spare time from the junk he has accumulated over the years.
Spring 2023 Newsletter

CONTACT EMAIL:
contact@brazosvalleyastronomyclub.org
Coordinator - Randy Light, M.D.
PROGRAM REQUEST EMAIL:
outreach@brazosvalleyastronomyclub.org
Coordinator - Tom Campbell
GOOGLE DISCUSSION GROUP:
https://groups.google.com
Coordinator - Randy Light, M.D.
WEBSITE AND NEWSLETTER EMAIL:
webmaster@brazosvalleyastronomyclub.org
Coordinator - Ginger Wentrcek
Follow Us on Facebook
Member: Astronomical League
Member: Night Sky Network
BVAC Website:
https://brazosvalleyastronomyclub.org
© Brazos Valley Astronomy Club
The Brazos Valley Astronomy Club is a non-profit group
located in Bryan-College Station, Texas.
Our goal is to promote astronomy and related science
as a hobby for people of all ages.